So this is the next stage of the saddle making process. I have made the flaps and attached them to the tree. The cut-out on the flap just exposes the stirrup bar which has been trimmed to an appropriate length. This rather blurry photo illustrates the position of the bar relative to the flap:

And a much more in focus top view shows how the front of the tree is used to secure the flaps.
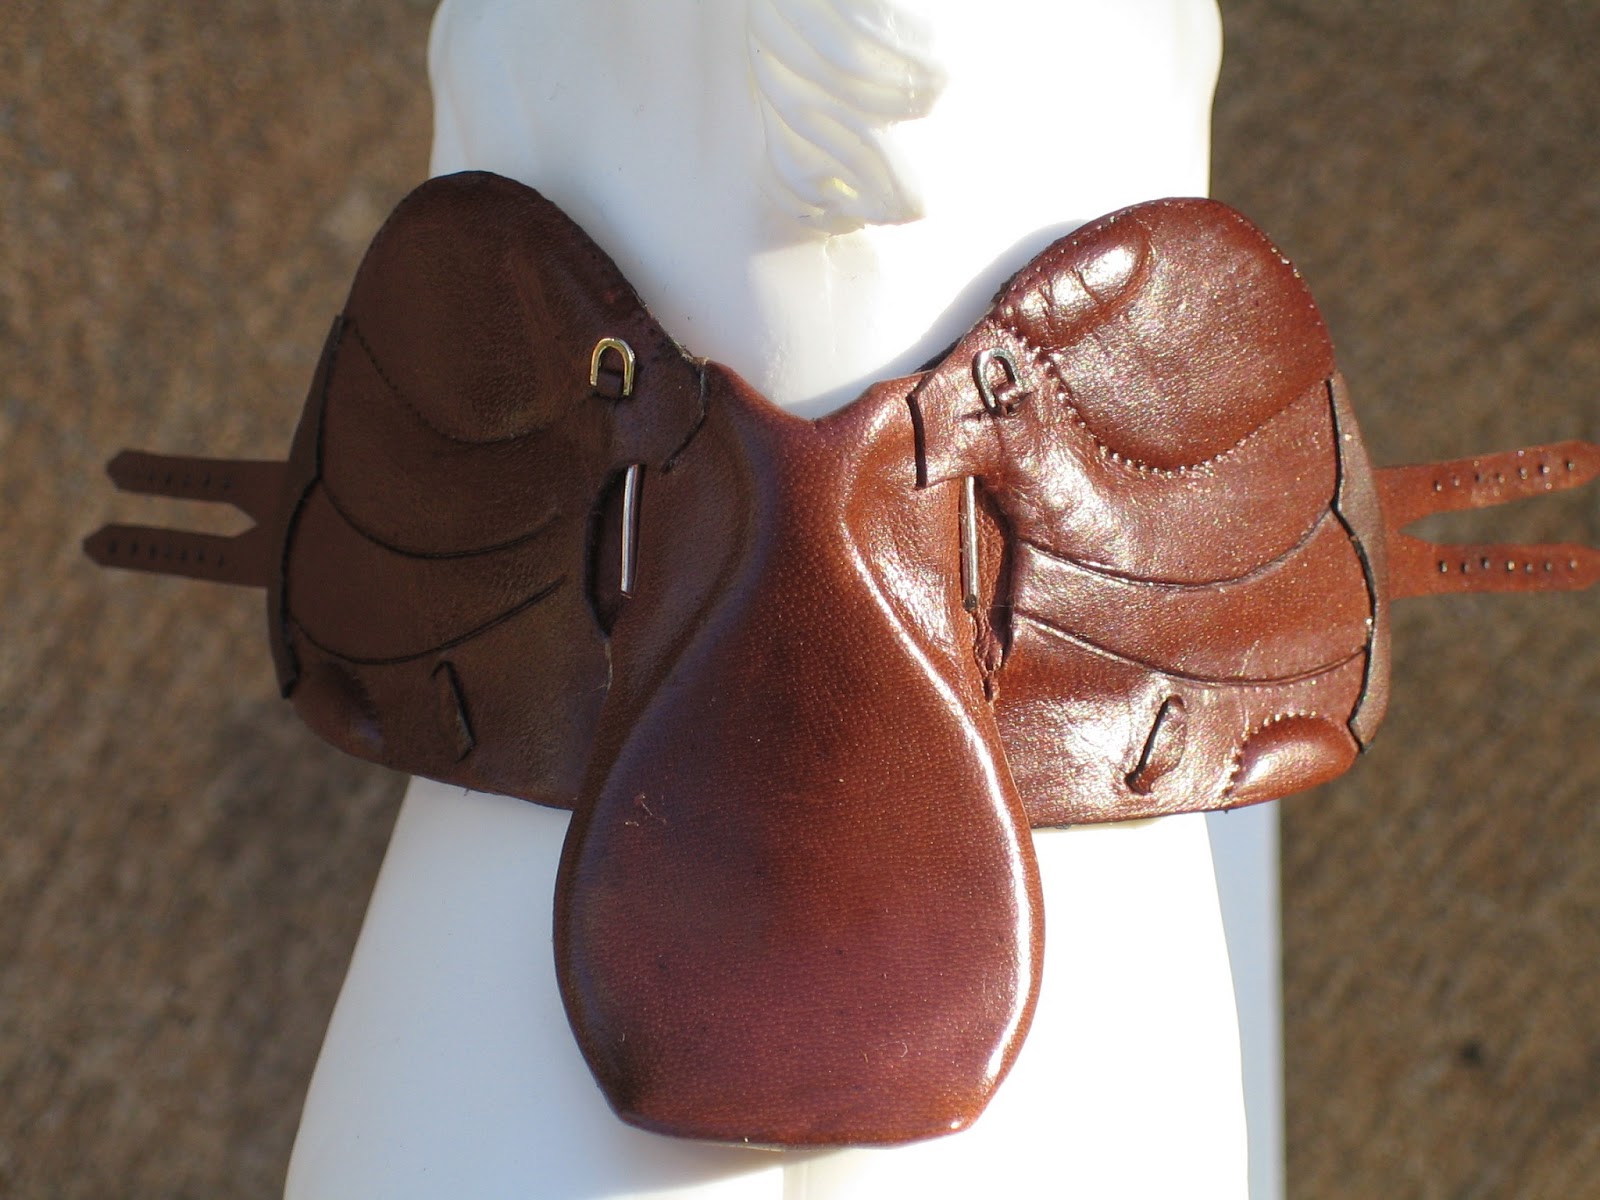
Once the jockey skirt has then been glued into position, a pin is positioned at the front of the jockey skirt so it goes through the jockey, the flap, the tree, and in the case of normal saddles, the lower flap. I use an older awl and a hammer to make a hole as the brass tree is very stiff, and then insert a bent pin which then gets trimmed and covered with a piece of leather to keep is secure on the underside.

Next shots show the completed saddle, including foam panels;

And hey presto, finished! This is my new design mono-flap cross country saddle made to fit Rayvin Brewer's Murdock resin. I will actually be taking delivery of a lovely painted Murdock soon - I'll be sure to show you pics when he arrives as I haven't seen many other painted Murdocks around.

So far I'm working on several different sets at once but I will complete this series about stirrup bars. The third and final part will be published when I get around to making the stirrup leathers.
Beautyful <3 :)
ReplyDelete