Thursday, May 16, 2013

Recessed Stirrup Bars - Part 2

So this is the next stage of the saddle making process. I have made the flaps and attached them to the tree. The cut-out on the flap just exposes the stirrup bar which has been trimmed to an appropriate length. This rather blurry photo illustrates the position of the bar relative to the flap:


And a much more in focus top view shows how the front of the tree is used to secure the flaps. 


Once the jockey skirt has then been glued into position, a pin is positioned at the front of the jockey skirt so it goes through the jockey, the flap, the tree, and in the case of normal saddles, the lower flap. I use an older awl and a hammer to make a hole as the brass tree is very stiff, and then insert a bent pin which then gets trimmed and covered with a piece of leather to keep is secure on the underside.


Next shots show the completed saddle, including foam panels;


And hey presto, finished! This is my new design mono-flap cross country saddle made to fit Rayvin Brewer's Murdock resin. I will actually be taking delivery of a lovely painted Murdock soon - I'll be sure to show you pics when he arrives as I haven't seen many other painted Murdocks around.


So far I'm working on several different sets at once but I will complete this series about stirrup bars. The third and final part will be published when I get around to making the stirrup leathers.


Saturday, April 27, 2013

Tack Journal

This year I am trying out a new way of recording what I make and how I make it. I'm going back to basics and writing everything down in a journal. The first few pages contain handy reference material such as my price list, supply websites and reference websites. Then there is an index of projects contained within the journal. This journal so far contains three entries, none of which are yet finished: draft presentation harness, cross country set and a sidesaddle set. I allow a few pages for each project and all the basic info is on the front page. The two photos show the front pages for two of the sets. I will print out any reference photos provided to me, or found by me, and write down any important requests and measurements for the intended model.


For the first time, I will be properly documenting how long each set takes me to make. For example today I worked on the cross country set for 45 minutes. Normally I would forget about small sessions like that but I think over a whole set those little sessions all add up.

I have never managed to persevere with a proper catalogue of my tack or indeed a numbering system. Many pieces have the month and year on them but once it's left my hands all I sometimes have are a few photos. Each of the entries above will have one photo at least of the finished set so that I can refer back to it easily. That way I'll easily be able to recall any particular details or techniques I may have used. 


Sunday, March 24, 2013

Recessed Stirrup Bars - Part 1

Figuring out the best way to attach stirrup leathers to a saddle is one of the biggest challenges when you're trying to teach yourself how to make miniature tack. I briefly touched on this when I wrote about developing my new tree-making technique. Now that I have been using that technique for a while I am still very pleased with this technique as I think it gives the most realistic and accurate effect. My stirrup leathers and the way they attach to the saddle is just like real life, in that you can pull the top of the leather down to adjust using a buckle, and the stirrup leather can be slipped off the back of the stirrup bar in an 'emergency'. But they are still very secure. Recessed bars mean that there is less bulk under the riders leg, and I have found that this was the hardest thing to get right.


I start by marking up the tree with permanent marker. The black dot in the photo above represents the level that my bar will sit. I use the pattern for the skirt to make sure that the bar will sit about half way down the skirt, so there will be enough skirt leather to cover the bar and stirrup buckle, but it isn't so high up that you can't access it.


I use a dremel with a 3/64" diameter drill bit to drill the holes. This is the right size for my silver wire which is 1mm diameter. I use silver coated wire as it is strong yet malleable. I thread about 3-4mm through and then crimp the wire using pliers. I then use my mini anvil and my jewellers hammer to gently hammer the wire until it squashed flat and almost flush with the brass tree, as seen below.


By doing this, the wire is effectively locked into position. I also flatten the wire along the length of the bar a little, again to cut down any bulk. Then the bars get trimmed a little, not to their final length as I will do a final trim when the skirt gets put on. I want to make sure it's long enough so that the stirrup leather is unlikely to slip of during normal use, but not so long that you can't get the leather onto the end of it.


The completed metal tree with finished stirrup bars.

The next instalment will look at the next stages and how the bars look when the flaps and skirts are introduced.


Sunday, March 3, 2013

Shelf Shots

I think I have turned a corner this weekend. We had some bad news about a close family member recently which has caused some stress and anxiety. We have been debating when to go back to the UK to visit and trying to juggle timings with work etc. These things always serve to make us reassess life and realise what is important to us. Work has been pretty stressful over the last 6 months or so. Sometimes it just takes a little jolt to make us realise work is not the most important thing in life. We must also make time to do the things we love and spend time with the people we love. I've been pretty good at spending time with Andy, my partner, he does not appear to be neglected! But actually making time for doing the things I love has taken a real back seat. I have been focussing more on the things I think I should be doing, like cleaning, cooking, going to the gym etc. 

So, I managed to finish an order for some Equorum tack yesterday. No photos quite yet as I haven't got the stirrups yet. Then I started in earnest on Rayvin's cross country set. I've made good progress on the tree, and documented that process which will form another blog post soon. I have also decided to start a journal documenting all the tack I make. So far my documentation has been pretty bad. The occasional photo and just a few quick notes in my order book. I'll talk about this a bit more in my next blog post.

Meanwhile here's some lighter stuff!

I've had a few ponies arrived recently who deserve a mention on here. This is not all of the horses that ave arrived over the last few months, just the ones that were out and asking to be photographed!


First off is this Calliope resin and PF Hez Jazi resin Arab colt both painted by Alice Jez. These guys have been owed to me for a long time but due to my various worldwide moves, name changes and lost emails it has taken 5 years for us to be united! I wasn't a massive Arab fan 5 years ago and I'm really not one now. So he'll be up for sale, let me know if you're interested!


There are a few newbies in this shot who I haven't introduced yet. Starting at the front we have an adorable Equorum Donkey who doesn't have a name yet (any ideas??). His mane is the softest thing imaginable and he has such a lovely expression. Behind him to the right is my Rose Reiner named Cloudbreak painted by Sandra Hottinger. His paintwork is just breathtaking and looks awesome tacked up. Next to him is Hunnypenny, an Oktopussy resin painted by Tiffany Purdy. She is totally awesome too and replaces my First Impression resin who I sold over east. The two guys on the left are both Eberl Warmbloods, a Roy resin called Rudyard at the front painted by Heather Bullach, and a Wico resin named Copernicus at the very back painted by Sherry Clayton. Standing models like these aren't the most versatile in terms of performance but I just love these sculptures, they represent the type of horse I would love to own in the real world!


Back to latex, and this is the new Equorum Shire Horse mould. He is wearing a bridle by Corinne Ensor which I had for quite a while. He doesn't have a name yet either. Love his feathers!


This is not really showing a new horse (except the champagne Equorum Icelandic on the right), but some new dressage planters made by Kim Haymond (Table Top Studios). They are modelled on the Olympic arena planters but in a red theme rather than purple. I am really impressed by the quality and can recommend Kim's work all day long.

Sunday, February 10, 2013

Little Update

I managed to finish an order last week, yey!! This is Heather's race bridle to fit her Kittydiddit resin. I have been way too slow getting this done for her but was somewhat relieved when she told me she hasn't painted the resin yet. It's nice working with people on similar time wavelengths!

I cracked open the latex again for the rubber reins. It's starting to go off but my supply is about 3 or 4 years old so I'll try and replace it soon if I can find a supply in Australia....


I have just put in several hardware orders for my upcoming projects, as I always feel happier when my stocks are replenished. I always include a few random bits and other parts in my orders in case they inspire me make additional items. Usually that doesn't work and I just end up with a small box full of random bits!

Here's a pic of the back of our house in Kalgoorlie. The lawn is looking greener than it ever has since we moved in 15 months ago, which is good as I've worked very hard on it. The french doors are great apart from the fact they don't have a fly screen so we end up with flys and mozzies inside the house. We're in the hottest part of the year right now which isn't conducive to tack making, but I have my little studio in one of the rooms that gets the sun in the morning but cools off by evening. I just have to be careful not to leave any leather items (or models) in the path of the sun as it can bleach things very quickly. The cheekpiece of the bridle above got caught out for less than one day and it was almost natural coloured again!


Other news is I am hosting a house live show next month. It won't be a big show with a handful of entrants and proxy showers, but I expect it will be fun and laid back. The rosettes are on order and all I have to do now is print out results sheets, placing certificates and do the DUN paperwork.

Monday, December 31, 2012

Last post of 2012!!

Oh dear, well one of my new years resolutions from the beginning of 2012 didn't really stick. My intention was to try and post on here a bit more, but I've actually written fewer posts than in 2011! 

I'll try again for 2013 but I'm not promising anything this time! Over the last 12 months I've probably made fewer tack sets than ever. As far as full sets go, I've made one huntseat set, one classic scale show set, one western set, one Australian set, a pebbles scale western set and then a couple of bridles and other small accessories. So, pretty varied really, but only 5 sets over 12 months. I couldn't do anything for January or February as we were still waiting for our container to arrive, so maybe my annual rate is closer to about 6 sets, or 2 months per set. This is useful to know, and it's the kind of time frame I should bear in mind when planning next years workload. 

Right now I have three things on the books: a bridle, a Draught horse presentation set, and a full cross-country set. More variety - I like it. I also have a few updates on the website to do and facebook as well. The Yahoo group is really taking a backseat. Updating four different things seems pretty inefficient so I will be discontinuing that group shortly. Blogger works far better for announcements, and facebook works well for random snippets and in-progress photos.

I have really been lacking any sort of motivation since the Ultimate Gold 2 live show on the 9th (yes I should do a blog post about that...). I had 5 days off over Christmas and yet didn't lift a finger in the studio. It was nice and clean, fairly inviting, but I just didn't fancy making anything. Lots my mojo a little, but it doesn't help the temperatures have been at least 36C each day. Big heat is a recipe for disaster when it comes to Lauren's motivation. So I didn't push it. I laid on the sofa watching cooking shows and property shows, and looking after my friend's dog Ted who is a pretty cool Cocker Spaniel. He's the only dog I've ever met who likes swimming in figure of 8's at the dog pool. I've also been going and feeding my friend Linda's 4 cats, two of which are stray kittens she has taken in and cared for. They are timid little things but after a week of going round I am at the stage of being able to pet them both. It's so nice being around animals again, they have such a soothing influence. Hopefully it won't be too long before we have our own best friend in the house.

I'll sign off for 2012 by wishing everyone a fantastic New Year! Here's a random picture of a polo pony playing at Polo on the Beach, Cornwall 2011. Leave me a comment if you'd like to see more pics from this event!


Sunday, December 2, 2012

Le Trec with a Standing model

For my upcoming live show, I have been researching a little known equestrian sport that I think will e a good match for one of my standing models. I recently bought my Wico resin as an unpainted body and asked Sherry Clayton to paint him up for me. She did a great job and painted just the right amount of sabino markings. I'm not totally decided on a breed but he'll be something along the lines of Gelderlander, KWPN or Holstein, I think those three breeds allow sabino. 

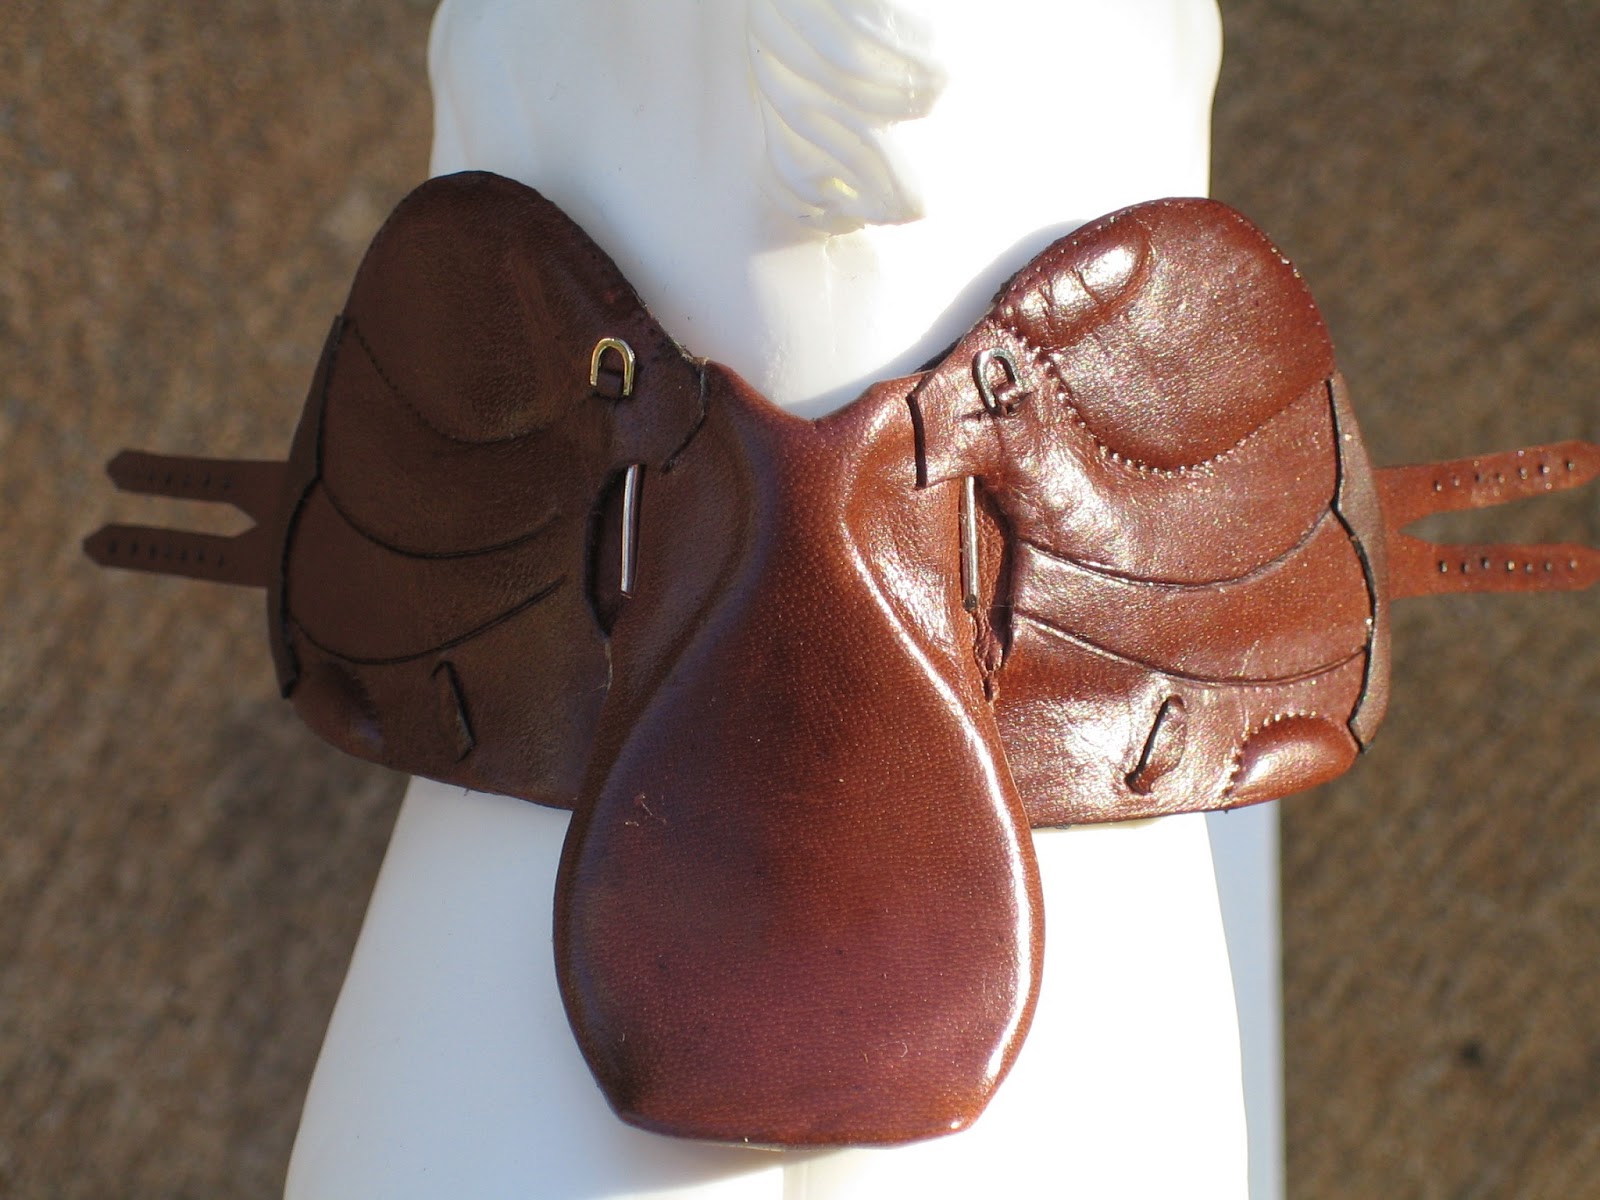
Anyway, he does look rather nice with some of the blue accessories I have. I made the bridle years ago for an Arab I have, but who has a broken ear right now. It's made of some kind of plasticy lace, which I remember being a real pain at the time but has held up well, none of the bonds have broken. I do have other colours of this stuff too so one day may explore other possibilities with it. The whole bluey theme would go well with some kind of endurance set up, but his pose isn't exactly very active. I suppose he could do a vetting scene but I would need more dolls for that. So I looked into Le Trec. Now this is a sport I would definitely do if I had my own horse! It consists of three main phases: orienteering on horseback (POR), control of paces (CoP), and the cross-country/obstacle course (PTV). The sport has French origins which explains the acronyms used for each phase! It was originally designed as a way to test equestrian guides in the horse tourism industry.

The POR can be up to 12km long at the lowest level, up to 40km at the highest level. Riders get a limited amount of time to trace the route onto their own map, and then ride the route starting with 240 points. Points are knocked off for missing checkpoints, getting the route wrong, etc. The CoP is carried out over a marked out section 150m, where they must demonstrate control of the various paces, for example cantering the course as slowly as possible whilst not breaking gait. The PTV phase is probably the most interesting from a model horse showing point of view. The course comprises 16 obstacles, each of which are judged, and these are a mix of what you may find on a cross-country course or a trail course. Typical obstacles include crossing a bridge, small jumps, opening/closing a gate, going up and down staircases etc. The one that caught my eye, with Wico in mind, was the immobility obstacle. Trec Ireland has great data sheets on each obstacle, particularly useful for those of use who like lots of good documentation.

The immbility obstacle requires the rider to walk into the centre of a 2.5m diameter circle. The rider then has 10 seconds to position the horse and release the reins completely, laying them on the horses neck. Once the reins are released the timer is started and is stopped when either the rider moves to pick up the reins or when the horse leaves the circle. Full marks are awarded if the timer reaches 10 seconds. Deductions occur for interventions, brutality or dangerous methods!

So, my Wico looks pleasantly relaxed and at ease, and will look great inside that circle.
This weekend I made up a base which is pretty simple, and will use small cones to demarcate the circle, using a plate as a template. The flags are secured in small holes in the base.


There is also a dismounted immobility obstacle, where the horse is led into a 4m circle and left there whilst the riders leaves the circle and stays outside another 8m circle. The rules are basically the same but I chose the mounted version as it takes up less space, and I don't have to deal with trying to get a doll to stand up!

Overall I'm pretty happy with the idea of it all. We'll see how it goes down at the weekend!